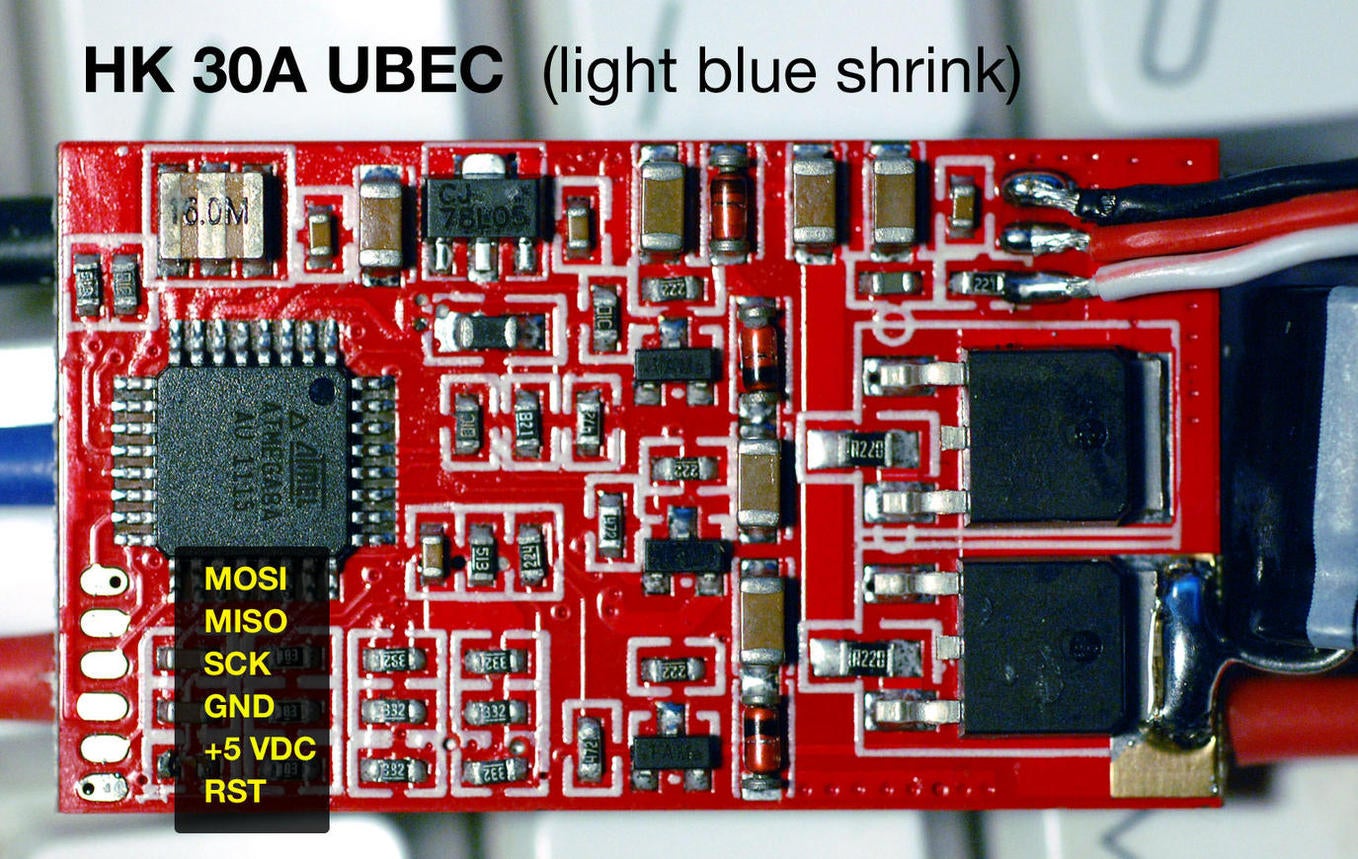
I wanted to try some flashed ESC's but did not want to pay the premium that people were wanting for preflashed ESC's or the wait time from overseas.
To build this tool I purchased two 24inch servo extension lease and pulled the covers off to expose the pins.
Taking the two leads with the pins exposed and angled them a bit so that I could line the pins to the pads as best as I could.
I used hot glue and to attach the angled pins to the extension cover. I did this so that I could line up the pins correctly with the pads. They did need to be angles a bit to line up.
Doing this caused an arch in the pins to where the pins would not sit flush on the flashing pads. To fix this I sanded the pins on some 500 grit wet sand paper to get everything square and touching the flashing pads.
I then looked at this diagram from RC groups on the flashing pad order and the diagram from oddcopter.com on the pinou for the USBASP ISP pinout for the KK 2.0 board. I did this because I did not want to remove the plug that came on my flashing tool so that I could create a plug and play cable when I needed to flash ESC's.
Taking some spare solid core wire I connected the leads from the servo extension and wired them directly to the header that is used on the USBASP cable.
I have a dead KK2.0 board lying around that I am going to steal the black squares from the board and use them to finish the cable.
I flashed 13 ESC's in about 5 minutes. This method took some time to get right but it made flashing so much easier.


0 comments:
Post a Comment